Windows10でvagrant(ubuntu20.04)を使いrails6のローカル開発環境を構築する
はじめに(経緯など)
macのローカル開発環境で動かしていたものを、windows上でも動かしたかったのでやってみた。
いろいろな記事を参考にまとめたものになります。
初学者の自分が書いていいものか迷ったが、このへんの情報がかなり少なく感じたこともあって書いてみることにした。
自分の備忘録的要素が強いです。
ちなみに、作業時間の目安は1~2時間程度です。
必要なアプリのインストール
virtualboxとvagrantをインストールしてください。
以下記事などが参考になりました。
VirtualBox + Vagrant をインストールしてみた
vagrantのセットアップ
windows標準のコマンドプロンプトを使います。
フォルダの場所はどこでもいいです。
cd /
僕は開発系のものをまとめてるので親フォルダ作成そして移動。
mkdir dev
cd dev
vagrantを起動するためのフォルダを作成します。
設定ファイルがここに作られて、vagrantにログインするときもこのフォルダから行います。
フォルダ名はお好みで。
mkdir vagrant_test
cd vagrant_test
インストールするイメージ?OSをダウンロードする
vagrant box add ubuntu-20.04 https://app.vagrantup.com/ubuntu/boxes/focal64/versions/20211026.0.0/providers/virtualbox.box
ダウンロードできたか確認
vagrant box list
ubuntu20.04があったらできてます。
vagrantを起動するための設定ファイルを作成する
vagrant init ubuntu-20.04
vagrantfileが作成されるので、中身をちょっといじる。
vagrantfile書き換える
上のコマンドを打つとvagrantfileが作成されるので、任意のエディタで開いて以下の設定をコピペで上書きします。
 # -*- mode: ruby -*-
 # vi: set ft=ruby :

 # All Vagrant configuration is done below. The "2" in Vagrant.configure
 # configures the configuration version (we support older styles for
 # backwards compatibility). Please don't change it unless you know what
 # you're doing.
Vagrant.configure("2") do |config|
  # The most common configuration options are documented and commented below.
  # For a complete reference, please see the online documentation at
  # https://docs.vagrantup.com.

  # Every Vagrant development environment requires a box. You can search for
  # boxes at https://vagrantcloud.com/search.
  config.vm.box = "ubuntu-20.04"

  # Disable automatic box update checking. If you disable this, then
  # boxes will only be checked for updates when the user runs
  # `vagrant box outdated`. This is not recommended.
  # config.vm.box_check_update = false

  # Create a forwarded port mapping which allows access to a specific port
  # within the machine from a port on the host machine. In the example below,
  # accessing "localhost:8080" will access port 80 on the guest machine.
  # NOTE: This will enable public access to the opened port
  # config.vm.network "forwarded_port", guest: 80, host: 8080

  # Create a forwarded port mapping which allows access to a specific port
  # within the machine from a port on the host machine and only allow access
  # via 127.0.0.1 to disable public access
  config.vm.network "forwarded_port", guest: 80, host: 8080, host_ip: "127.0.0.1"

  # Create a private network, which allows host-only access to the machine
  # using a specific IP.
  config.vm.network "private_network", ip: "192.168.33.10"

  # Create a public network, which generally matched to bridged network.
  # Bridged networks make the machine appear as another physical device on
  # your network.
  # config.vm.network "public_network"

  # Share an additional folder to the guest VM. The first argument is
  # the path on the host to the actual folder. The second argument is
  # the path on the guest to mount the folder. And the optional third
  # argument is a set of non-required options.
  # config.vm.synced_folder "../data", "/vagrant_data"

  # Provider-specific configuration so you can fine-tune various
  # backing providers for Vagrant. These expose provider-specific options.
  # Example for VirtualBox:
  #
  config.vm.provider "virtualbox" do |vb|
  #   # Display the VirtualBox GUI when booting the machine
  #   vb.gui = true
  #
  #   # Customize the amount of memory on the VM:
    vb.memory = 2048
    vb.cpus = 4
  end

  config.ssh.insert_key = false
  #
  # View the documentation for the provider you are using for more
  # information on available options.

  # Enable provisioning with a shell script. Additional provisioners such as
  # Ansible, Chef, Docker, Puppet and Salt are also available. Please see the
  # documentation for more information about their specific syntax and use.
  # config.vm.provision "shell", inline: <<-SHELL
  #   apt-get update
  #   apt-get install -y apache2
  # SHELL
end
設定の詳細については別記事で
設定が終わったら、立ち上げる。このコマンドは次回から起動するためのコマンドになる。
vagrant up
ログインする。
vagrant ssh
環境構築
macで構築したものと同じものを構築して両方で動かしたいのでmacの構築は以下の記事を参照。 【Rails】 Ruby on Railsの環境構築の全手順と概念をわかりやすく解説
以下からnodejsのインストールまでコマンドはほぼコピペで、下記の記事を参考にしました。 (Ubuntu)Ruby on rails 6.0 環境構築
コンパイラおよび必要なツールをインストール
sudo apt update -y

sudo apt upgrade -y

sudo apt install build-essential -y

sudo apt install -y libssl-dev libreadline-dev zlib1g-dev
rubyのインストール
mac構築の記事に合わせて2.7.5をインストール
git clone https://github.com/sstephenson/rbenv.git ~/.rbenv

echo 'export PATH="$HOME/.rbenv/bin:$PATH"' >> ~/.bashrc

echo 'eval "$(rbenv init -)"' >> ~/.bashrc

exec $SHELL -l

git clone https://github.com/sstephenson/ruby-build.git ~/.rbenv/plugins/ruby-build

rbenv install 2.7.5

rbenv global 2.7.5
一応、インストールできてるか確認する。 バージョンの数字が出てくればインストールできてる。
rbenv -v

ruby -v
railsのインストール
推奨されてないらしいですが、vagrantは環境をいつでも作り直せるためそのまま実行することとします。
気になる方は以下の記事などを参考にしてください。
Ruby 歴 10 年の私が【絶対に】 gem install rails コマンドを実行しない理由
gem install rails -v "6.1.3.1"
インストールできてるか確認。
rails -v
sqliteのインストール
sudo apt install libsqlite3-dev
node.jsのインストール
sudo apt install -y nodejs npm

sudo npm install n -g

sudo n stable

sudo apt purge -y nodejs npm

exec $SHELL -l

sudo npm install yarn -g
インストールできてるか確認。
node -v
rails sで構築できているか確認
rails newで新しく作る場合
任意のフォルダで
rails new [アプリ名]
今回はアプリ名をsampleで進めるので、
rails new sample
フォルダを移動する。
cd sample
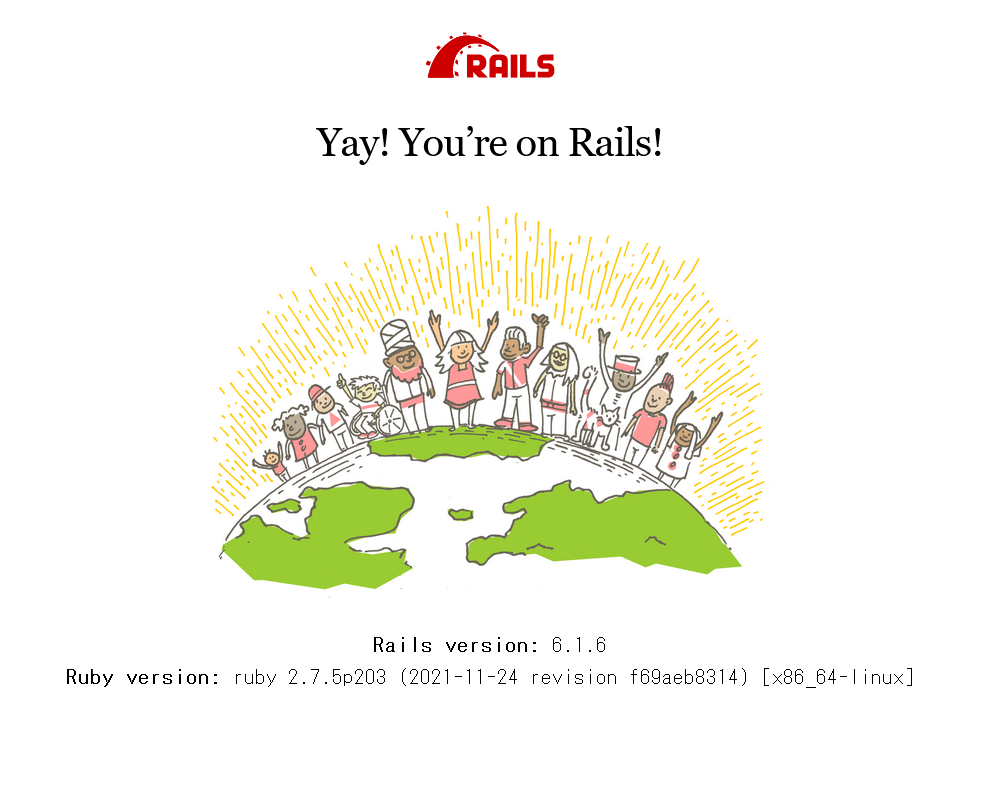
ブラウザから「192.168.33.10:3000」にアクセスして動けば完了。
bundle exec rails server -b 0.0.0.0
成功した場合、以下のような画面が表示されます。

まとめ
お疲れ様でした。 記事についての質問などは対応できないと思いますが、指摘等あれば検証して訂正したいと思います。
参考にした記事
【Ubuntu 20.04】VirtualBox+Vagrantを使用したインストール
【Rails】 Ruby on Railsの環境構築の全手順と概念をわかりやすく解説